The Printing Process
- Amy Hutchings
- Aug 20, 2019
- 2 min read
I thought I'd share with you some of the photographs from my recent commission of Cargo at Wapping Wharf, Bristol. It's always hard to convey to people just how much work goes into a hand-pulled print. Perhaps a few words and images might be interesting?
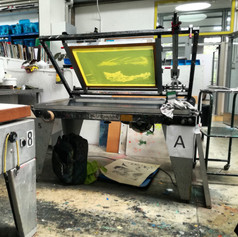
Initially you create the artwork - I always draw mine, but there are many ways to generate this. Then you have to create the screen(s). Each colour involves a different screen and each colour is an individual section of the design, for which you have to create a mark-resist or stencil. To prepare the screen, it needs to be coated with photographic emulsion, left to dry and then exposed to a UV light for a set amount of time. You time the exposure in light units, not in minutes and seconds. Each screen is created individually.
Once you have exposed the screen, it's time to rinse it using a hose. If all has gone well (and it doesn't always) wherever a black line is on your design should protect the photo emulsion from the harsh UV rays. This means that it remains soft, whereas the emulsion exposed to the light will harden. It should result in a negative of your image, with the areas drawn in black washing away with the water.
Once the screen is dry, it's time to section off the screen with tape, test it and then think about printing!
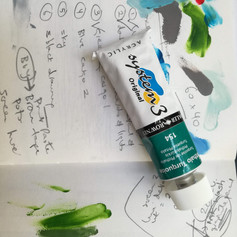
Below the images show the artwork being created, the screen in the exposure room, washing out, setting up the print bed, colour mixing and registering the print to layer colours. Part 2 will show the layers being added onto the print. . .


Comments